
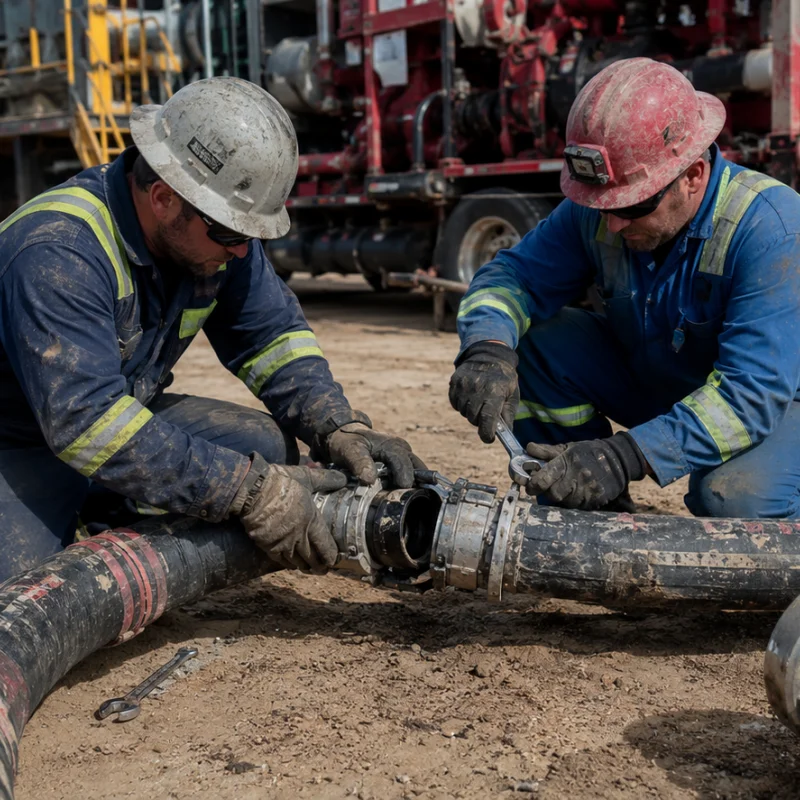
If you are searching for how to repair a frac hose, the first step is not cutting, patching, or crimping. You first need to identify which frac hose you have.
A TPU layflat hose used for water transfer is not repaired in the same way as a steel-reinforced hose used between high-pressure pumps and manifolds. A small, clean puncture in a repairable layflat hose may qualify for a manufacturer-approved patch. A leak through the body of a high-pressure pumping hose usually means the complete assembly must come out of service.
That distinction matters. A repair that stops a visible leak may still leave damaged reinforcement, a weakened bond, or an unreliable end connection. You should return a hose to service only when the repair method is approved for that exact hose construction and the finished assembly passes the required inspection and test.
Short answer: You can repair some TPU frac water-transfer hoses with an approved patch, sleeve, or splice procedure. You should not field-patch the pressure body of a reinforced high-pressure frac hose. If that hose leaks, bulges, kinks, exposes reinforcement, or loses traceability, isolate it and replace it or send it to the manufacturer for a written disposition.
Key Takeaways
- Identify the hose by duty, construction, pressure rating, media, serial number, and manufacturer before you decide on a repair.
- Depressurize, isolate, lock out, drain, and verify zero stored energy before anyone touches the line.
- Never use your hand to find a pinhole leak. Pressurized fluid can penetrate skin and cause a medical emergency.
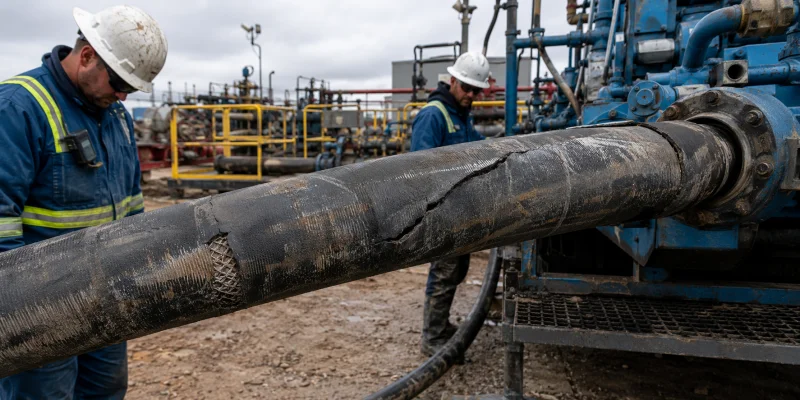
- Treat a body leak, exposed reinforcement, bulge, blister, kink, crushed section, coupling movement, or fire damage as a removal-from-service condition.
- Use only the hose manufacturer’s written repair procedure and compatible materials. A generic patch kit is not an approval.
- Do not cut and re-crimp a used high-pressure hose unless the original manufacturer has expressly authorized that work for the exact assembly.
- Test the repaired or serviced hose in a controlled, barricaded area to a documented procedure. Do not improvise a test pressure.
- Record the failure, repair decision, test result, and root cause so the replacement hose does not fail in the same way.
First, Identify Which Frac Hose You Have
The term “frac hose” can describe several products on one site. AlienFrac’s frac hose guide separates them by duty because their constructions, pressure ranges, and repair limits are different.
| Hose type | Typical duty | What “repair” usually means |
| TPU layflat frac water-transfer hose | Moving fresh water, treated water, or compatible produced water over distance | An approved external patch, repair sleeve, coupling, or splice may be possible for limited damage |
| Reinforced high-pressure frac hose | Carrying abrasive fracturing fluid between pumps, manifolds, and pressure equipment | Remove and replace the assembly, or obtain a manufacturer-controlled inspection and disposition |
| Acid-service frac hose | Carrying acid or chemically aggressive treatment fluid | Decontaminate, verify material compatibility, and follow the manufacturer’s written service decision |
| Hydraulic control hose | Power or control circuits on frac equipment | Replace with a new matched hose-and-fitting assembly unless the hose manufacturer permits another route |
Check the layline, tag, certificate, purchase record, or equipment file. You need the hose model, inside diameter, working pressure, temperature range, media approval, minimum bend radius, end connections, date of manufacture, and serial or asset number.
If the tag is missing or you cannot match the hose to a controlled specification, do not guess. Quarantine it until the manufacturer or a qualified hose specialist can identify it. A hose of the right color and diameter can still have the wrong liner, reinforcement, pressure rating, or coupling system.
Decide Whether You Have a Hose Failure or a Connection Leak
Fluid near a hose end does not always mean the hose body has failed. The leak may come from a replaceable seal, a damaged mating face, loose fasteners, an incorrectly made hammer union, misalignment, or nearby equipment.
Clean the area only after the system is safely isolated. Then trace the leak to its true source.
- Leak from the hose body or beneath the cover: Remove the hose from service. Do not cover the leak with tape, clamps, epoxy, or a sleeve intended only for abrasion protection.
- Leak at the hose-to-coupling interface: Treat the assembly as suspect. Movement, weeping from under the ferrule, or separation can indicate an assembly fault.
- Leak at a serviceable connection: Inspect the seal, threads, flange face, hub, union, fasteners, alignment, and mating component. Replace only the parts permitted by the connection procedure.
- Leak from adjacent pipework or equipment: Correct that source without altering the hose assembly.
This check prevents you from “repairing” a good hose while leaving the actual failure in place. AlienFrac’s guide to frac hose connection types can help you identify the end connection before you disassemble it.
How to Repair a Frac Hose: The Safe Workflow
The following workflow gives you a controlled path from discovery to return to service. It does not replace the hose manufacturer’s instructions, your site procedures, or the applicable standard.
1. Stop the Job and Control the Area
If you see mist, a wet stripe, a growing bubble, coupling movement, or an unexplained pressure loss, stop the pump and keep people out of the line of fire. Do not approach a pressurized hose to get a closer look.
Set an exclusion zone based on your site risk assessment. Account for hose whip, high-velocity fluid, hot surfaces, chemical exposure, proppant, H2S, traffic, and stored mechanical loads. If anyone may have suffered a fluid-injection injury, treat it as an emergency even when the puncture looks small.
2. Isolate Every Energy Source
Shut down the equipment using the approved sequence. Close and secure the correct valves, lock out pumps and actuators, block or lower supported loads, bleed trapped pressure, and drain the hose into a suitable container.
Do not assume a zero reading at one gauge proves the hose is safe. A blocked line, closed valve, accumulator, elevated section, trapped gas pocket, or plugged gauge can retain energy. Verify isolation at the points defined in your procedure and allow hot components to cool.
Before breaking a connection, confirm:
- The correct hose has been identified.
- Upstream and downstream energy sources are isolated.
- Stored hydraulic, pneumatic, gravitational, thermal, and electrical energy is controlled.
- The hose is drained and decontaminated for the media it carried.
- Required PPE, gas monitoring, spill control, and emergency equipment are in place.
- Your permit, lockout/tagout record, and job safety analysis cover the work.
3. Clean, Tag, and Inspect the Entire Assembly
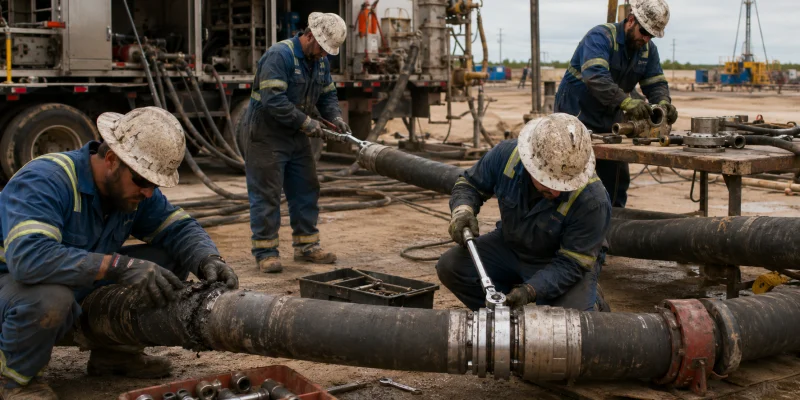
Wipe or wash the hose with a compatible cleaning method so you can see the cover and ends. Do not use a solvent or cleaning pressure that can damage the hose. Tag the hose “out of service” and record its location before moving it.
Inspect the full circumference and length under good light. Pay special attention to the first section behind each coupling, support points, bends, road crossings, hose-to-hose contact, and areas hidden by guards or sleeves.
Look for:
- Cuts, gouges, abrasion, cracks, hardening, softening, or chemical attack
- Pinhole leaks, wet spots, blistering, bubbles, bulges, or delamination
- Exposed, corroded, broken, or displaced reinforcement
- Kinks, flattening, crushing, twist, or permanent deformation
- Heat, fire, UV, impact, or vehicle damage
- Corroded, cracked, distorted, loose, or leaking end fittings
- Hose pullout, coupling slippage, an uneven ferrule, or damaged seals
- An unreadable layline, missing tag, or an unauthorized previous repair
Use the oilfield hose inspection checklist to make the assessment repeatable. Do not flex, probe, or dismantle a damaged assembly until you understand the hazard and the manufacturer’s inspection method.
4. Classify the Damage
Put the finding into one of four categories:
- Serviceable connection issue: The hose and its permanent coupling are intact, while a permitted gasket, O-ring, seal, or mating component is damaged.
- Repairable TPU layflat damage: The damage is within the size, location, media, age, and pressure limits of a written repair procedure for that hose.
- Manufacturer-review condition: The damage is unusual, hidden, close to an end, or not clearly covered by the acceptance criteria.
- Mandatory replacement condition: The pressure body, reinforcement, bond, or permanent end attachment is damaged, or the assembly cannot be positively identified.
When the evidence is uncertain, choose the safer category and ask the manufacturer for a written disposition.
5. Choose the Correct Repair or Replacement Path
Path A: Repair a Serviceable Connection
If the leak is at a connection designed for field service, follow the connection manufacturer’s procedure. Use the correct new seal, verify material compatibility, clean the sealing surfaces, and inspect for scratches, corrosion, distortion, or thread damage.
Align the connection before tightening it. Do not pull the hose into position with flange bolts or union threads. Apply the specified lubricant and torque only where the procedure calls for them. Do not add thread tape, sealant, or an extra gasket to compensate for damaged parts or poor alignment.
If the permanent hose coupling has moved, cracked, leaked beneath the ferrule, or pulled away from the hose, stop. That is not a routine seal change.
Path B: Repair a TPU Layflat Frac Water Hose
A TPU layflat hose may be repairable when the manufacturer supplies a procedure for the exact construction. Depending on the system, that procedure may use a bonded patch, heat-applied patch, mechanical repair sleeve, or approved splice.
Your written procedure should define:
- Permitted damage type, dimensions, and distance from a coupling
- Media and contamination limits
- Surface cleaning and preparation
- Patch or sleeve material and batch control
- Patch size, orientation, pressure, heat, and cure time
- Ambient and hose-surface temperature limits
- Required technician training and tools
- Inspection and pressure-test acceptance criteria
- Marking, service restriction, and maximum number of repairs
Do not transfer repair settings from PVC irrigation hose, fire hose, or another TPU product. Different jackets, reinforcement, coatings, and working pressures require different methods. If the damage is long, jagged, contaminated, close to an end, repeated in one area, or associated with reinforcement distortion, replace or splice out the section only when the manufacturer permits it.
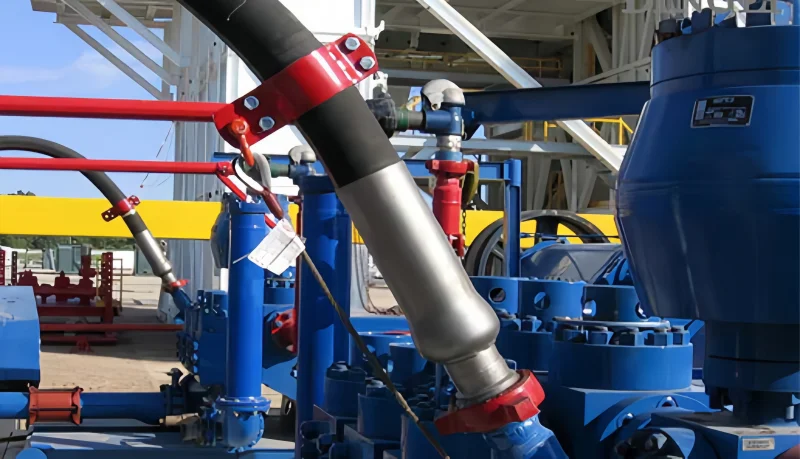
Path C: Service a Reinforced High-Pressure Frac Hose
For a steel-wire or steel-cable reinforced high-pressure assembly, a cover patch cannot restore cut reinforcement, liner damage, bond failure, or fatigue life. Remove a leaking or structurally damaged hose from service.
Do not:
- Wrap the leak with tape or rubber
- Fit a clamp over the hose body
- Inject sealant into the cover
- Weld, grind, or heat a hose end
- Mix hose and coupling brands or series
- Reuse a coupling that has blown off or visibly moved
- Cut back and re-crimp a used assembly without written manufacturer approval
If the manufacturer offers a controlled repair or recoupling service, send the complete hose with its records. The service provider should inspect the hose, verify the original design, use controlled components and tooling, mark the serviced assembly, and issue a new test record. If those controls are not available, replace the complete assembly.
6. Correct the Root Cause Before Installation
Replacing the hose without correcting the cause sets up the next failure. Compare the damage pattern with the operating history.
| Damage pattern | Likely causes to investigate | Corrective action |
| Abrasion in one location | Poor routing, missing support, hose contact, dragging, traffic | Reroute, guard the contact point, improve handling, or add suitable protection |
| Failure near the fitting | Bend too close to the end, torsion, misalignment, unsupported weight, incorrect assembly | Increase the straight section, correct alignment, support the hose, and review the end design |
| Bulge or blister | Liner failure, bond separation, overpressure, gas permeation, rapid decompression | Replace the hose and review pressure history, media, temperature, and decompression duty |
| Kink or flattened section | Bend-radius violation, crushing, poor storage, vehicle traffic | Replace the hose and change routing, storage, or crossing protection |
| Soft, hard, swollen, or cracked cover | Chemical or temperature incompatibility, UV, ozone, ageing | Confirm inner and outer material compatibility and the actual exposure limits |
| Repeated pinhole or erosion | Abrasive solids, high velocity, turbulence, local restriction | Review bore size, flow velocity, solids, hose construction, and end geometry |
| Coupling leak or pullout | Wrong components, assembly error, pressure surge, axial load, torsion | Quarantine the assembly and review the full hose-and-coupling system |
For routing problems, confirm the documented minimum bend radius for high-pressure oilfield hose. Add enough length for movement and pressure-related change without creating a tight loop or twist.
7. Inspect and Test Before Return to Service
- A leak, pinhole, cut, or crack through the hose body
- Exposed, broken, displaced, or corroded reinforcement
- A bulge, blister, soft spot, delamination, or permanent diameter change
- A kink, crushed section, severe flattening, or permanent twist
- Coupling pullout, movement, deformation, cracking, or leakage beneath a permanent attachment
- Fire exposure, severe heat damage, or an incompatible chemical exposure
- An overpressure, uncontrolled pressure surge, or vacuum event beyond the documented limit
- Damage outside an approved layflat repair procedure
- Repeated damage or multiple repairs that exceed the manufacturer’s limit
- A missing identity tag, uncertain pressure rating, or broken traceability
- Evidence of an unauthorized patch, clamp, re-crimp, or mixed-component assembly
- A failed inspection or pressure test
Do not keep a failed hose as an unmarked spare. Drain and decontaminate it, make it unusable where required by your site procedure, and dispose of or return it through an approved route.
What You Need From the Hose Manufacturer
When you ask for a repair decision, send enough information for an engineering answer:
- Hose model, serial number, size, length, and date of manufacture
- Working pressure, surge history, temperature, and vacuum exposure
- Complete fluid composition, solids, additives, and cleaning chemicals
- End connections and mating equipment
- Clear photographs of the full hose, damage, tag, and both ends
- Damage dimensions and distance from the nearest coupling
- Service time, pressure cycles, routing, bend radius, and external exposure
- Description of the event that caused the damage
- Previous inspection, repair, and test records
- Required standard, test, third-party witness, and documentation
AlienFrac can use this information to determine whether you need an approved layflat repair procedure, a replacement hose, or a factory review. If you are specifying a new assembly, the oilfield hose specification guide helps you organize the service data.
How to Prevent the Next Frac Hose Failure?
The best repair program reduces the number of repairs you need.
- Inspect the hose before use, after installation, after abnormal events, and at the interval set by your risk-based plan.
- Keep hoses off sharp edges and away from vehicle traffic unless a designed crossing protects them.
- Do not drag a pressurized hose or use it to pull equipment.
- Respect the static and dynamic bend-radius limits, especially behind fittings.
- Prevent torsion by aligning both ends before tightening connections.
- Match the liner, cover, seals, and fittings to the complete fluid and temperature range.
- Monitor working pressure and pressure transients instead of relying only on a relief setting.
- Support heavy hose without creating a point load or using the anti-kink sleeve as a lifting handle.
- Clean, cap, drain, dry, and store hoses to the manufacturer’s instructions.
- Tag every assembly and track its service history, inspection findings, and retirement criteria.
For high-pressure work, review AlienFrac’s frac hose safety guide with your site procedure before the next job.
FAQ
Can you repair a high-pressure frac hose with tape or epoxy?
No. Tape, epoxy, sealant, and hose clamps do not restore damaged reinforcement, liner integrity, or the original hose-to-coupling qualification. Isolate the hose and replace it or obtain a written manufacturer disposition.
Can you cut out a damaged section and re-crimp the hose?
Do not re-end a used high-pressure hose unless the original manufacturer has specifically approved the exact assembly, process, components, tooling, inspection, marking, and test. For most field situations, a new complete assembly is the controlled solution.
Can you repair a frac hose with exposed wire?
No. Exposed reinforcement shows that the protective cover has been breached, and the reinforcement may already be damaged or corroded. Remove the hose from service.
Can a TPU frac water-transfer hose be patched?
Sometimes. The patch must be approved for the exact TPU hose and within the manufacturer’s limits for damage size, location, media, pressure, age, and number of previous repairs. Follow the written preparation, cure, inspection, and test procedure.
What if the leak is only at the connection?
First verify the source. A serviceable seal or mating component may be replaceable, but leakage beneath a permanent coupling or ferrule can indicate an assembly failure. Do not tighten or disassemble any connection while it is pressurized.
Should you pressure-test a repaired frac hose?
Yes, when the manufacturer or governing procedure permits the repair. Use a documented test pressure, hold time, medium, calibrated instruments, restraints, barriers, and acceptance criteria. A low-pressure operational check alone is not a substitute for the required acceptance test.
How often should you inspect a frac hose?
Inspect before use and after any installation, move, abnormal pressure event, chemical exposure, impact, or suspected damage. Set additional periodic inspections from the manufacturer’s guidance, service severity, hose history, applicable standard, and your site risk assessment.
What is the safest emergency repair for a leaking high-pressure hose?
The safest response is to stop, isolate, depressurize, tag the hose out of service, and install a correctly specified replacement assembly. An improvised pressure-body patch can turn a manageable leak into a burst or fitting release.
Conclusion
Knowing how to repair a frac hose starts with knowing when not to repair it. You may be able to restore a TPU layflat water-transfer hose with an approved patch or splice. A reinforced high-pressure hose with body or coupling damage belongs out of service until the manufacturer accepts a controlled service route or you replace the assembly.
If you need a repair decision or replacement recommendation, send AlienFrac the hose ID, working pressure, fluid, temperature, end connections, damage photos, and service history. You will get a clearer answer when the manufacturer can review the complete duty instead of a single picture of the leak.