
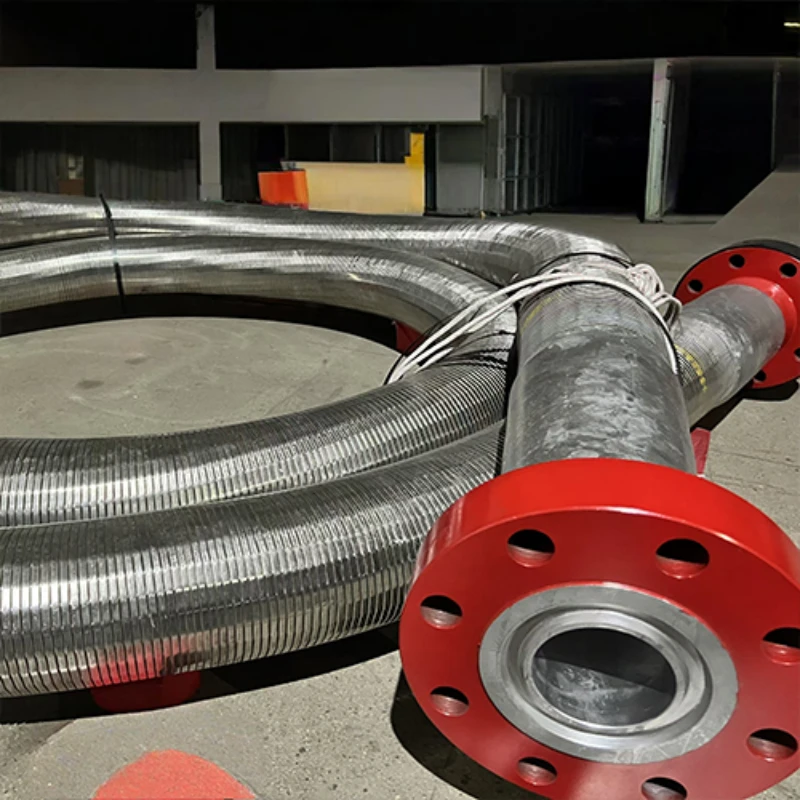
A choke and kill hose inspection should answer one practical question before the assembly goes into service: is this the correct, traceable hose, in a condition and installation that the approved operating procedure allows you to use?
This guide covers the pre-operation checks you can make without turning a visual inspection into a pressure-test procedure. It focuses on identification, the outer cover and hose body, end fittings, routing, operating compatibility, and records. It does not replace the hose manufacturer’s instructions, the operator’s hose management program, project requirements, or a qualified engineering decision.
If you need product-family information before starting, review AlienFrac’s choke and kill hose range and the API 16C choke and kill hose hub.
Key Takeaways
- Confirm the hose identity and approved service limits before judging its physical condition.
- Inspect the full visible length of the hose body, not only the areas beside the end fittings.
- Treat exposed reinforcement, leakage from the hose body, permanent deformation, or fitting movement as quarantine or engineering-review triggers.
- Check routing for twist, an excessively tight bend, poor support, abrasion points, heat, and contact with moving equipment.
- Verify that the current inspection and test records belong to the same serialized assembly.
- A visual inspection does not prove pressure integrity and is not a substitute for hydrostatic, qualification, or other approved testing.
1. Identify the Hose Assembly Before Inspection
Start with identity. A clean-looking hose is not ready for use if you cannot match it to the approved equipment list, data sheet, or traceability package. Read the nameplate or permanent marking and compare it with the job requirements and the latest controlled records.
For an API 16C hose inspection, verify the exact specification, edition, purchaser requirements, and FSL shown in the approved document package instead of relying on a generic ‘API hose’ label.
Depending on the assembly and project, the identification package may include:
- manufacturer, model or assembly description, and serial or asset number;
- nominal bore or size and overall length;
- rated working pressure and the applicable temperature range;
- end connection type, size, pressure class, and orientation where relevant;
- applicable product specification and FSL or other purchaser-defined level, where required;
- fluid or service restrictions stated in the approved data sheet; and
- manufacture, inspection, test, repair, and service-history records that can be tied to the same assembly.
Do not reconstruct missing limits from memory or from a similar hose on the same site. If the marking is unreadable, the serial number does not match, or the document package is incomplete, pause the release and ask the responsible QA or engineering function to verify the assembly.
For a closer look at documentation fields, see the API hose certificate checklist. If the procurement documents specify API 16C, the API 16C FSL guide can help buyers frame the identification review without treating every FSL as interchangeable.
2. Inspect the Outer Cover and Hose Body
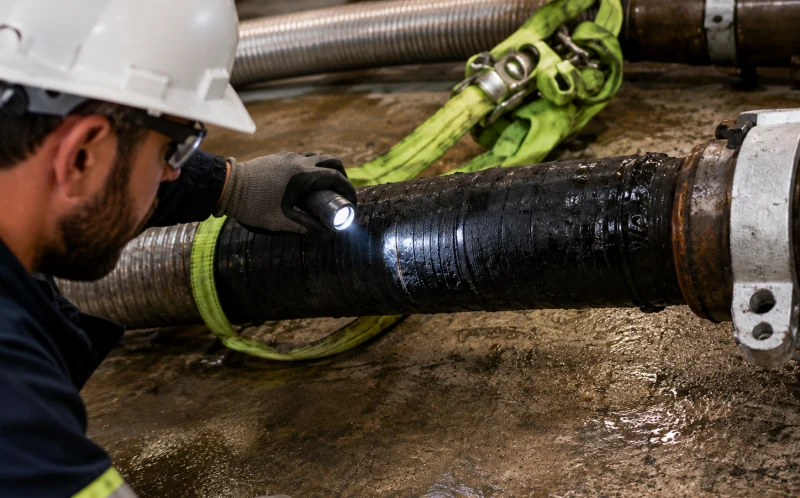
Clean enough of the exterior to see the cover, then inspect the entire accessible length under adequate light. Work systematically from one end to the other. Pay extra attention to support points, contact areas, bends, lift points, and sections that may have been dragged, struck, pinched, or exposed to chemicals or heat.
Cuts, Abrasion, and Exposed Reinforcement
Look for cuts, gouges, worn cover, cracking, missing cover material, or abrasion that has reached the reinforcement. Surface scuffing and structural damage are not the same, but the article cannot set a universal depth limit: cover construction and acceptance criteria depend on the specific hose and the manufacturer’s approved instructions.
If wire, textile, or another reinforcement layer is visible, quarantine the assembly and obtain a documented assessment. Do not conceal the condition with tape, paint, or an improvised patch before the review.
Bulges, Blisters, Kinks, and Changes in Shape
Compare the hose profile with adjacent undamaged sections. Watch for bulges, blisters, bubbles, flattening, crush marks, kinks, local necking, or a bend that remains after the hose is unloaded. Also note an area that feels unusually soft or stiff compared with the rest of the hose. These observations may indicate damage inside the construction even when the outer cover has not opened.
Do not force a deformed hose straight or attempt a field repair unless the manufacturer has issued a specific approved procedure for that assembly.
Leakage, Wet Areas, and Chemical Attack
Look for wetness, staining, drips, spray marks, or residue that appears to originate from the hose body or termination. First rule out an unrelated spill or a leak from nearby equipment. If the hose body is leaking or the source cannot be confirmed safely, isolate the area and follow the site’s approved response. Never use your hand to search for a leak in a pressurized system.
Also record swelling, tackiness, surface hardening, discoloration, blistering, or loss of cover material after chemical exposure. The appearance alone may not identify the cause, but it provides useful evidence for an engineering review.
3. Inspect End Fittings and Terminations
The end fitting is part of the assembly, not a separate accessory to ignore during the hose inspection. Examine each termination from the hose-to-fitting transition to the mating connection. Use the correct cleaning and access method so that corrosion, movement, and sealing surfaces are visible.
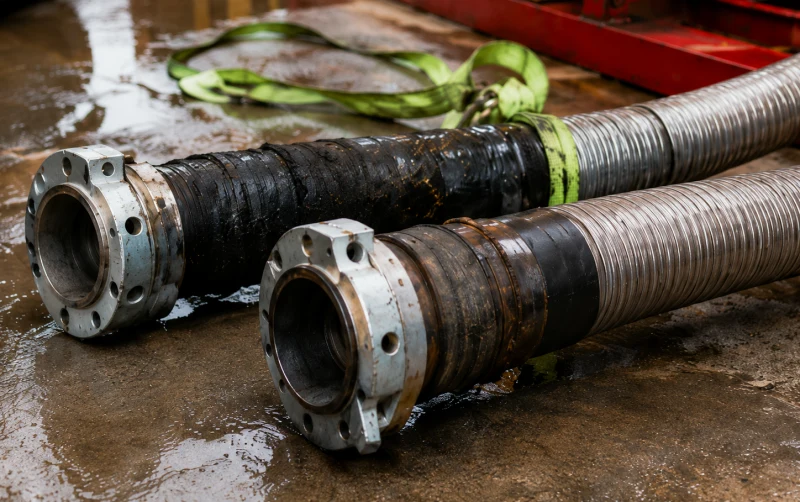
- corrosion, pitting, cracking, impact marks, bending, or other deformation;
- movement, separation, rotation, or an unusual gap at the hose-to-fitting interface;
- damaged threads, flange faces, seal grooves, hubs, union components, or protective coatings;
- missing, damaged, or incorrect seals and connection hardware;
- leak residue, wash marks, or product accumulation around the termination; and
- an end orientation or connection combination that does not match the approved drawing or installation plan.
Do not insert a generic torque value into this inspection. Connection make-up, bolting, seals, lubrication, and torque belong to the approved equipment and installation procedure. If an end connection is damaged, mismatched, or has moved relative to the hose, quarantine the assembly for review rather than attempting an improvised correction.
Buyers who are still defining the assembly can use AlienFrac’s API 16C hose end-connection guide to prepare the End A and End B information before requesting a quotation.
4. Check Routing, Support, and Minimum Bend Radius
A hose that passes a bench inspection can still be placed at risk by poor installation. Step back and look at the full route in its operating position. The assembly should follow the approved layout without twist, crushing, sharp contact points, or an unsupported load at the end fittings.
Check that:
- the installed bend is no tighter than the manufacturer’s stated minimum bend radius for that exact assembly;
- the hose is not twisted and bending occurs in the intended plane;
- supports and restraints carry the hose without pinching or abrading it;
- clamps, saddles, and guards do not create a sharp edge or concentrated load;
- the route allows the movement and length change covered by the approved installation design;
- the hose does not rub against structures, walkways, cables, pipework, or adjacent hoses; and
- the assembly is protected from excessive heat, hot surfaces, sparks, dropped objects, vehicle traffic, and moving equipment.
Do not estimate minimum bend radius from hose diameter alone. Use the current data sheet, drawing, or manufacturer’s instruction for the specific construction and size.
For the engineering logic behind this check, read the minimum bend radius guide for high-pressure oilfield hose.
5. Verify Operating Compatibility and Records
A visual inspection tells you what you can see. It does not confirm that the assembly is suitable for the planned fluid, pressure, temperature, or dynamic duty. Before release, compare the approved assembly limits with the actual job conditions.
At minimum, confirm the planned working pressure, fluid or media, fluid and ambient temperature, end connections, routing, movement, and any sour-service or project-specific requirement. If the operating envelope has changed since the hose was selected, request a fresh engineering review rather than assuming that prior use proves compatibility.
Then check the records. The latest inspection and test documents should be legible, approved where required, within the operator’s controlled schedule, and linked to the same serial or asset number. A certificate from another hose, an undated screenshot, or a test chart without traceable identification is not enough.
Use the API hose inspection and hydrotest schedule to understand how scheduling questions should be managed, and see API 16C hose testing for the difference between a visual check and an approved test program. Do not use this article as a pressure-test instruction.
6. Accept, Quarantine, or Request Engineering Review
The final disposition must follow the manufacturer’s criteria and the operator’s approved program. The table below gives a conservative workflow for routing observations; it is not a universal retirement standard.
| Observed condition | Initial disposition | Required follow-up |
| Identity and records match; no visible abnormal condition | Proceed only through the operator’s approved release process | Record the inspection and inspector/sign-off details required by the site |
| Exposed reinforcement, hose-body leakage, or obvious structural damage | Quarantine; do not place in service | Photograph, identify the assembly, and send the finding to Engineering/QA |
| Kink, permanent flattening, bulge, blister, crush damage, or unexplained soft/stiff area | Quarantine pending assessment | Do not straighten, patch, or repair without an approved procedure |
| Fitting movement, separation, cracking, deformation, or damaged sealing surface | Quarantine pending assessment | Protect the ends and document the exact location and connection type |
| Unreadable or missing nameplate, serial mismatch, or incomplete traceability | Hold before use | Resolve identity and records with QA or the manufacturer |
| Planned service exceeds or cannot be matched to approved limits | Do not use the assembly | Re-select the hose or obtain documented engineering approval |
| Minor condition with no published acceptance criterion | Request engineering review | Measure and photograph it; do not invent a field limit |
7. Pre-Operation Choke and Kill Hose Inspection Checklist
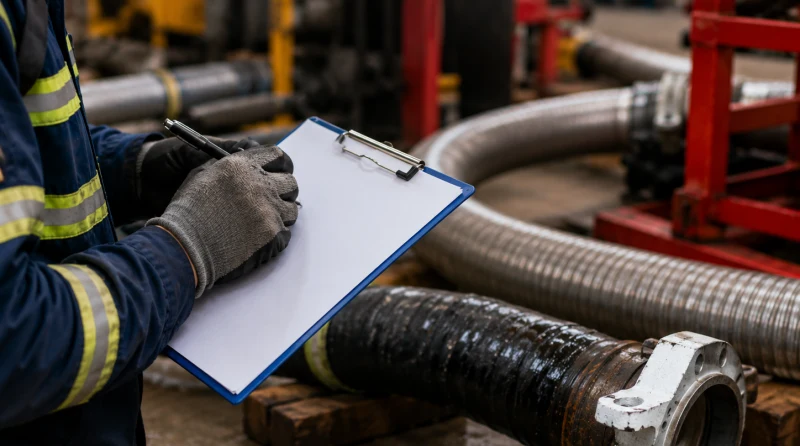
Use this checklist as a field prompt, then align it with the controlled form approved for your operation. Record exceptions instead of relying on a verbal handover.
| # | Check area | What to confirm | Status |
| 1 | Identity | Serial/asset number and assembly description match the job and records | Pass / Hold / N/A |
| 2 | Service limits | Working pressure, temperature, fluid/service, size, and end connections match the approved requirement | Pass / Hold / N/A |
| 3 | Outer cover | Full accessible length checked for cuts, abrasion, cracking, chemical attack, and exposed reinforcement | Pass / Hold / N/A |
| 4 | Hose shape | No unexplained bulge, blister, kink, crush, flattening, or abnormal soft/stiff area | Pass / Hold / N/A |
| 5 | Leak evidence | No wetness, staining, residue, or leak evidence originating from the hose body or terminations | Pass / Hold / N/A |
| 6 | End fittings | No corrosion, pitting, cracks, deformation, movement, separation, or damaged sealing surface | Pass / Hold / N/A |
| 7 | Routing | No twist, tight bend, sharp contact, abrasion point, heat exposure, or interference with moving equipment | Pass / Hold / N/A |
| 8 | Support | Supports and restraints match the approved arrangement and do not pinch or overload the hose | Pass / Hold / N/A |
| 9 | Records | Inspection/test status is current under the controlled program and traceable to this assembly | Pass / Hold / N/A |
| 10 | Disposition | Exceptions documented; quarantine or engineering review initiated where required | Released / Held |
Suggested record fields: date and location; hose serial or asset number; job or equipment ID; inspector name; observed condition; photo reference; disposition; reviewer; corrective action; and release authorization where required.
8. What This Inspection Does Not Cover?
Keeping the scope narrow makes the checklist safer and more useful. Use the related guidance below when the task extends beyond a pre-operation visual and document check:
- Cleaning, storage, and preventive care: API 16C choke and kill hose maintenance
- Pressure, qualification, and production-test context: API 16C hose testing
- Inspection and hydrotest scheduling: API hose inspection and hydrotest schedule
- A broader multi-product framework: oilfield hose inspection checklist
Need Help Reviewing an Assembly or Specifying a Replacement?
Send AlienFrac the nameplate or marking details, working pressure, temperature, fluid or service, size and length, End A and End B connections, applicable project requirements, and clear photos of the hose body and terminations. Include the current inspection or test record if you need help identifying a documentation gap.
Start with the API 16C choke and kill hose product range, compare the crimped armored A831, crimped unarmored A832, built-in armored A833, and built-in unarmored A834 configurations, or contact the AlienFrac team for an application-specific review.
FAQ
What should you check on a choke and kill hose before operation?
Confirm the assembly identity, nameplate data, approved service limits, outer-cover condition, hose shape, end fittings, routing, support, and traceable inspection/test status. Any exception should be documented and routed through the operator’s approved disposition process.
What visible damage should trigger quarantine or engineering review?
Exposed reinforcement, hose-body leakage, a kink or permanent deformation, bulging or blistering, fitting movement, cracking, severe corrosion, or an unreadable identity should stop routine release. Quarantine the assembly or hold it for Engineering/QA according to the approved program.
How do you verify a choke and kill hose pressure rating before use?
Read the rated working pressure on the permanent marking or approved data sheet, then match the serial number and compare that rating with the job requirement. Do not use test or burst pressure as an operating allowance, and do not infer the rating from appearance or hose size.
What records should be available for hose traceability?
The controlled file should identify the assembly and link it to the relevant manufacture, certificate, inspection, test, repair, and service-history records required by the operator or project. The exact package depends on the product, specification, purchaser requirements, and hose-management program.
How does minimum bend radius affect a choke and kill hose inspection?
A bend tighter than the manufacturer’s stated minimum can concentrate stress and damage the hose construction. Inspect the hose in its installed position and use the value for that exact size and design; do not estimate it from outside diameter alone.
Is a visual inspection the same as a hydrostatic or qualification test?
No. A visual inspection finds visible condition, installation, identity, and record issues. A hydrostatic or qualification test has a controlled procedure, equipment, pressure, duration, acceptance criteria, and safety controls. One does not replace the other.
Can a damaged choke and kill hose be repaired in the field?
Do not assume it can. Field patches, straightening, re-ending, or other repairs can change the pressure boundary and traceability. Use only a manufacturer-approved repair and requalification process that applies to the exact assembly, or replace the hose.
Conclusion
A useful choke and kill hose inspection is disciplined and traceable. Identify the exact assembly, examine the full visible hose and both terminations, confirm the route and supports, match the service limits to the job, and verify the records before release.
When a condition falls outside the approved criteria, stop at the boundary of the inspection. Quarantine the hose or request an engineering review instead of turning a general article into a repair, testing, or retirement decision.